This past week has been so much fun for me; ripping into walls and smashing tiles, tearing down cabinets and diligently learning -via YouTube videos- how to do each step of all of these projects. I’ve spent the week alone in Brake Manor (while my sweet hubby works the day job so we can afford to do this…) with the tunes cranked and donning my dust mask and goggles like a rockstar. Jason was able to come work with me this weekend and the job was even more fun with him at my side. [insert girly swoon here]
As of this morning, here’s where we’re at:
1. the final gas leak has been found and repaired. I eventually gave up and had to call in a pro. It turns out the leak was a lengthwise split in one of the pipes deep in an inaccessible attic-space. It was an expensive fix but the fact that I didn’t have to swim in loose fiberglass insulation made it totally worth it.
2. all wallpaper has been removed, sans behind the toilet in the downstairs bath. I’m still a little afraid to remove the toilet yet. I also scraped all the popcorn (non-asbestos popcorn, don’t worry) from the ceiling.
3. the vanity in the bathroom has been removed, walls have been cleaned off and are ready for a skim coat (sans, of course, behind the toilet. I figure I’ll try to do that tonight when Jason can help me lift it).
4. all kitchen wall cabinets and backsplash tiles have been removed, and all lower cupboards except for the one with the sink have been detached so they can be shifted around as we work on the floor.
5. demo on the kitchen tile is about halfway done. We wanted to leave the cute white tile with charcoal grout but the floor wasn’t tiled under the cabinets (as you can see on the right hand side of the above photos), and we were unable to find the same tile anywhere so we had to do it since we don’t plan on keeping the same cabinet configuration.
I’ve taken today off to catch up on my day-job duties and research options for grinding the Thin-set off of the concrete where the tiles used to be, but hopefully this evening I can head back over to the Manor to kock out a few more floor tiles and move that toilet. The rest of the week is supposed to be a balmy 46-48˚which will make it a little less miserable to run the fresh-air fan with an open door while sanding; but then it’s supposed to drop back into the 20’s and snow on Saturday. Here’s hoping I can manage to finish tearing up the floor and make all the runs to the dump before the snow hits.
Closing went smoothly -Jason’s mom and brother acted as POA’s for Grandma and came to the signing- and for some bizarre reason I was completely zen all morning beforehand. We all smiled and laughed and said our goodbyes after we were finished at closing but the the moment Jason and I got in the car I broke down in a hot mess of tears. The relief and finality of the closing allowed me to let go and start to feel that little-kid excitement about our new place again.
Once my tears were mostly dried we picked up a bottle of Prosecco and stopped at Chipotle for a to-go lunch and had ourselves a picnic in the loft of the new house. The champagne bottle exploded as we opened it -flying cork slamming into the ceiling and all- and we got champagne all over the carpet. At first we both looked at each other with an “oh shit, Grandma’s going to be so mad!”, and then we both smiled and shrugged because we realized it was now our carpet we were ruining. It’s a good thing we are planning to replace it anyhow.
Our Prosecco and Chipotle carpet picnic in the loft
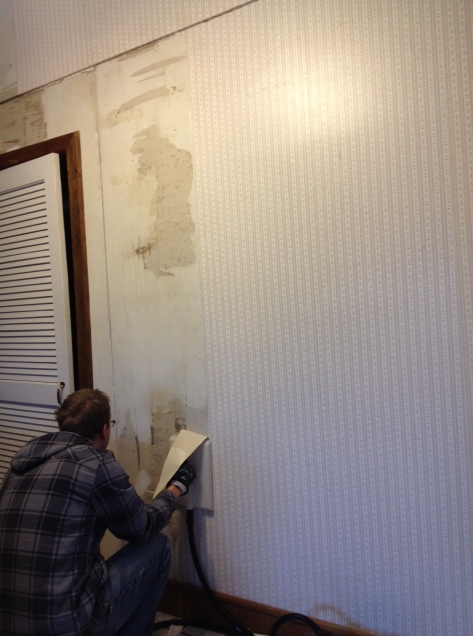
The last week has been overly busy and we’ve only had a few hours at the new house but so far we’ve moved all of grandma’s remaining belongings into the garage so Jason’s mom can take them to storage, torn into the wall behind the dryer to get at that pesky gas leak (or we found a leak, anyway. It may not be the only one up there), now I just need to find a few pipe wrenches to see if we can just tighten the leak away. We also bought a little steamer and started removing the wallpaper in Jason’s office and the West kitchen wall. It’s such a tedious task but it’ll be so great to have it gone! The back-splash tiles in the kitchen will also be going away so I started slowly chipping at them too. Demolition… feels good, man.
This weekend was a fairly stressful one between shooting a 12 hour frigid December wedding and getting my 4Runner stuck in a snowy mountain ditch (another story for another time…), so it felt really good for both Jason and I to put on our work clothes, turn up the tunes and start working on our house together. The stress melted away as we worked and all that’s left of the weekend now is our sore muscles and big smiles.
A few backsplash tiles removed.Steaming the kitchen wallpaper off. It was adhered to raw drywall so it’s coming off a little rougher than we’d hoped. I have a feeling we’ll be getting really good at mudding in the near future. ;)
I’m heading back over to the house this morning to continue steaming the wallpaper but I think I might stop by our discount grocery first and pick up a few food items so it feels a bit more like home while I work. I keep brewing coffee every time I go over there in hopes that it will start smelling a little more like home too.
Score one for independent women everywhere! :) Yesterday I made my very first true house repair. I fixed 5 natural gas leaks on 3 appliances at gma’s house. Her house has always smelled like gas for as long as I can remember but for whatever reason the leaks have never been sought out. I can still detect a smell of it somewhere in the wall between the furnace and the dryer but that leak will have to wait until we close on the house since some drywall will need to be removed to find it.
A nice technician from our local gas provider was extremely helpful in explaining how the gas system works. He showed me how to control the gas flow at the main source and how to repair any basic leaks I ever find. I am extremely wary of all fire and electricity so I was nervous to give this a go – but now I feel confident that anyone can do this type of repair easily and quickly using just a few precations. Here are the steps I followed. Disclaimer: I am not a professional in any sense of the word. Do not use these directions as your only source of information. Consult a professional before taking on a project like this. Thank you.
Basic supplies needed for an easy-to-access natural gas leak between the fixed gas line and an appliance:
– Two adjustable wrenches, or one adjustable and one pipe wrench, depending on need.
– Pipe Dope and a toothpick/Q-tip or something else to apply it with – small tubes of PD can be found at your local hardware store for under $2 (teflon tape works in a pinch, but it doesn’t age as well as Pipe Dope and you have to be sure to apply it clockwise or it can bind and cause leaks)
– A good flashlight to shed light on the situation
– A plastic sheet to protect surrounding areas incase you drop any Pipe Dope (it’s icky-sticky stuff), I just tore open a big garbage bag as a makeshift tarp
Optional: a bottle of Snoop to check your work when you’re through or for if you’re having trouble pin-pointing the leak
If actual damage has caused the leak you may also need new couplers, piping or flex-line -which you can pick up at your local hardware store for fairly cheap.
Step 1: Have a professional seek out the location of the leak. Most gas service providers will offer this service for free if you call and report a smell of gas. Be prepared to have them come immediately since they treat all reports as a possible emergency – and be prepared to fix the leak right away because, as a policy, if they find one they will turn off your gas until it is repaired
Step 2: If the professional hasn’t done it already, turn off the gas valve at the provider supplied source (for an apartment, turn off the valve at the dwelling/unit source), then wait several minutes or until you no longer smell gas from the suspected leak, and until the smell in the room/house has fully dissipated, before proceeding
Step 3: If there is a local gas shut-off valve for the appliance, turn that off as an added safety measure
The appliance’s shut-off valve will either look like this yellow knob, a little red knob or it can be similar to the main shut-off valve to the house
Step 4: Use one wrench to hold the pipe (or neighboring coupling) steady, and use the second wrench to twist and loosen the coupling. If the leak is up-line of a local shut-off valve you can try to simply further tighten the connection instead of going to the trouble of unscrewing it and applying your PD
*a note for us weaklings: to loosen stubborn couplers, positioning the two wrenches so that squeezing them together (like squeezing a nutcracker or pliers) will give you much more torque than holding them independently
Step 5: apply Pipe Dope to the male end of the connection (on the threads). Only apply enough to help lubricate the threads so they can be fully tightened. Be sure not to get any Pipe dope inside of the pipe as it can cause issues down the road
Step 6: reconnect the coupler and tighten as much as possible. Repeat Steps 3-6 on any other leaks that were found
Step 7: turn on the gas at the source. Remember to turn the valve very slowly. Opening it too quickly can burst the diaphragm in the meter. Here’s a video clip of the technician opening the valve Gma’s house so you can get an idea of how slow to go:
Step 8: Since the gas has been off for a bit the air in the house should be completely clear of any gas smell (it dissipates pretty quickly) so it will be pretty easy to tell if any of your fixes didn’t hold once the gas is back on. Immediately move to any repaired leak that didn’t have a local shut-off valve to check if you can smell any gas still leaking. Next, go to any repair(s) that do have the local shut-off valve and turn the gas on to the appliance. If there is still a leak present you will smell it right away if you sniff the repair site.
If there is still a leak you might want to use a bottle of Snoop to pin-point where it’s still leaking, or if it turns out you’re unable to find/fix it yourself, you’ll have to hire a local HVAC pro to come take care of it for you – but at least you did what you could!
Step 9: Re-light all appliances that require a pilot light: the furnace (if it’s as old as the hills; newer ones have an electronic ignition), hot water heater, gas fireplace, etc. Directions for lighting pilot lights should be located on each item’s warning stickers
Step 10: Squeal and giggle and do the happy dance because you are an independent, kick-ass DIYer!
Now go get yourself a tasty treat because you did good work today!
Alanna is a free spirited, techie-turned-entrepreneur starting a new adventure in a vintage cottage with her awesomesauce hubby, sassy cat and a little green flying monster
 1. the final gas leak has been found and repaired. I eventually gave up and had to call in a pro. It turns out the leak was a lengthwise split in one of the pipes deep in an inaccessible attic-space. It was an expensive fix but the fact that I didn’t have to swim in loose fiberglass insulation made it totally worth it.
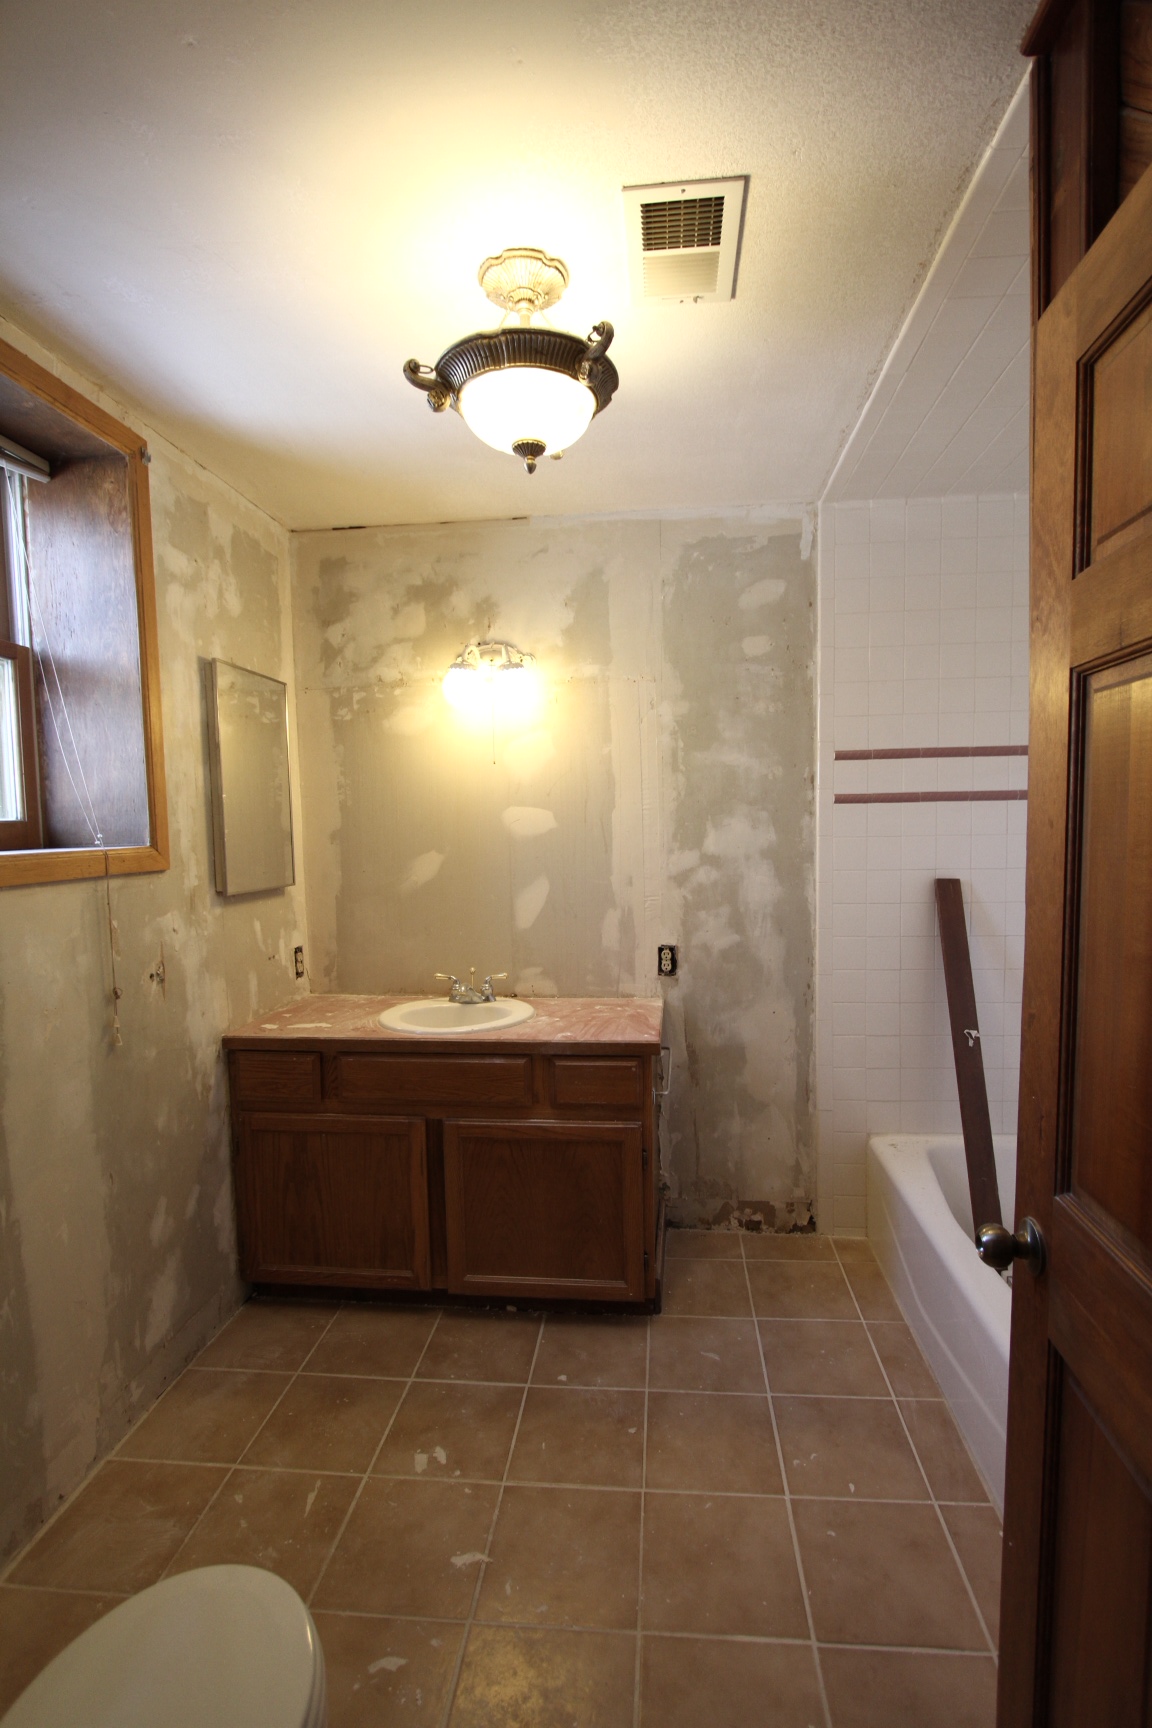 2. all wallpaper has been removed, sans behind the toilet in the downstairs bath. I’m still a little afraid to remove the toilet yet. I also scraped all the popcorn (non-asbestos popcorn, don’t worry) from the ceiling.