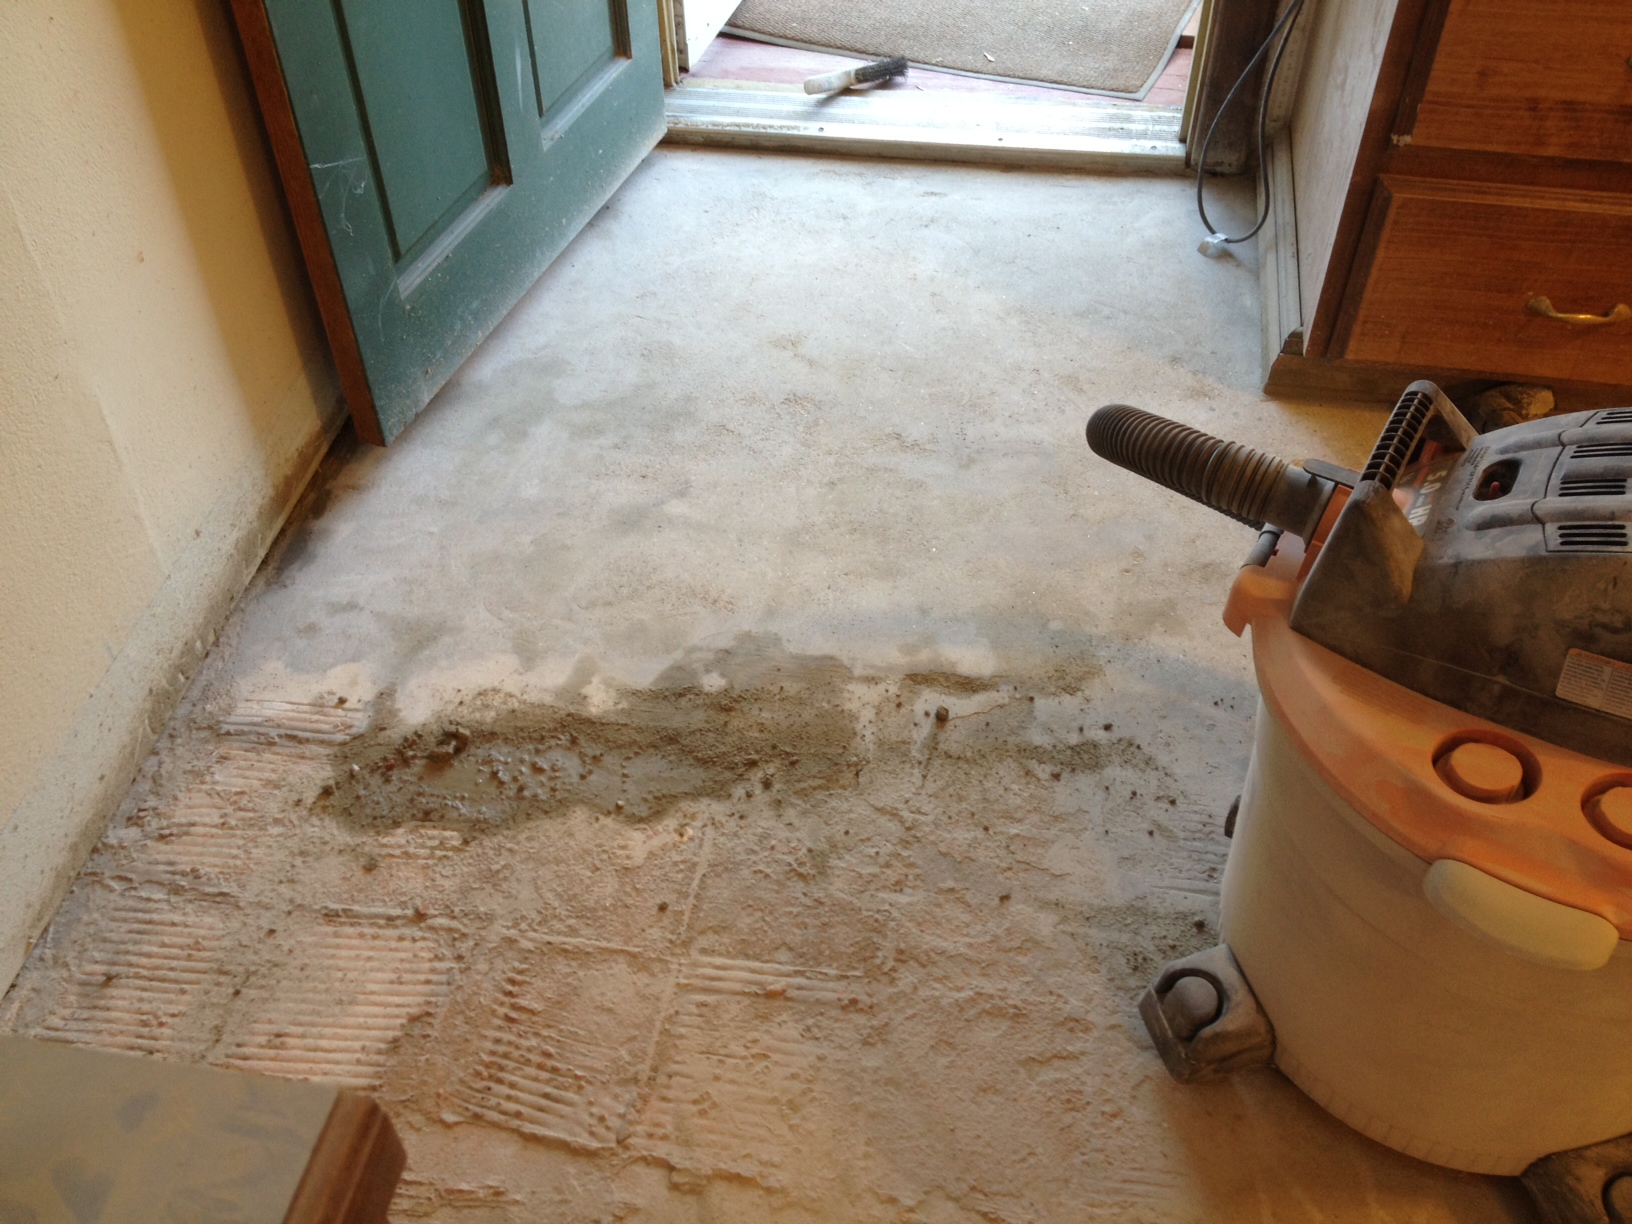
It was a little sad to remove the last one from it’s place.
I originally thought the task of removing tiles from concrete was a dirty, thankless job but now that I’ve moved onto separating the Thin-Set from the concrete I have a renewed respect for the folks who do this sort of work for a living.
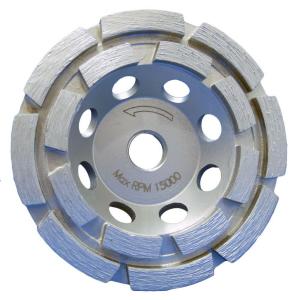
As usual, I Googled for answers on what to do for this next step of my project and I found that using a floor buffer with a $350+ diamond disc is the best way to sand the thin-set from concrete floors – but between renting the buffer machine and buying the diamond disc (you can’t rent, you have to buy those), it would have cost $500-700 which would have negated the money-saving purpose of sanding the concrete floor so we can stain it in the first place. Re-tiling the floor would have cost around the same amount.
Do not try this at home!
Alternatively, I realized they make diamond discs for the cute little 4.5″ grinder that came free with our SRS roto hammer drill… so the conversation in my head went like this:
“Whoa, whoa, whoa. Do you realize how long it would take you to finish 320+ square feet of floor with a 4.5″ diamond disc?”
“So what? We do what we have to in order to save mass amounts of cheese. The mini diamond disc is only $40 and we don’t have to rent a machine for it so we can take as long as we want to finish the job. I don’t see a problem here.”
“Psh, I’m glad it’s you and not me having to do all that grinding. ….wait!”
“Too late! I bought the mini disc and we’re doin’ this! Game on!”
So the disc was purchased and while Jason finished removing the last of the tile in the laundry and downstairs bath, I started grinding. I tried wet grinding and I tried dry grinding. Both had their perks but I decided wet grinding was too slow and too messy to clean up with the shop vac. Apparently those little vacuum attachments that suck up the dust as you grind are not a big seller so none of the local tool stores carry them. Because of this, I decided to grind a few square feet then vacuum the area as best I could to try to keep the dust to a minimum… haha! What a sweet, ignorant woman-child I was.

Dust. Dust EVERYWHERE! After grinding about 12 square inches the room would be thick with a fog of dust. It was terrible.
I finally figured out that by leaving all doors and windows open and blasting a work fan on the area I was grinding I could at least keep visibility around 85-90% and I could do more than a foot of grinding between vacuumings.
I am fully aware that this was not the best, nor the safest way to go about the job and I apologize to any neighbors that might have been hit with my could of dust – but after working for 7 hours and seeing only about 30 square feet of progress you get a little crazed and desperate. I worked on this project for over two weeks, making very little progress every day… near the end of the project I was often in tears over how sick of grinding I was.

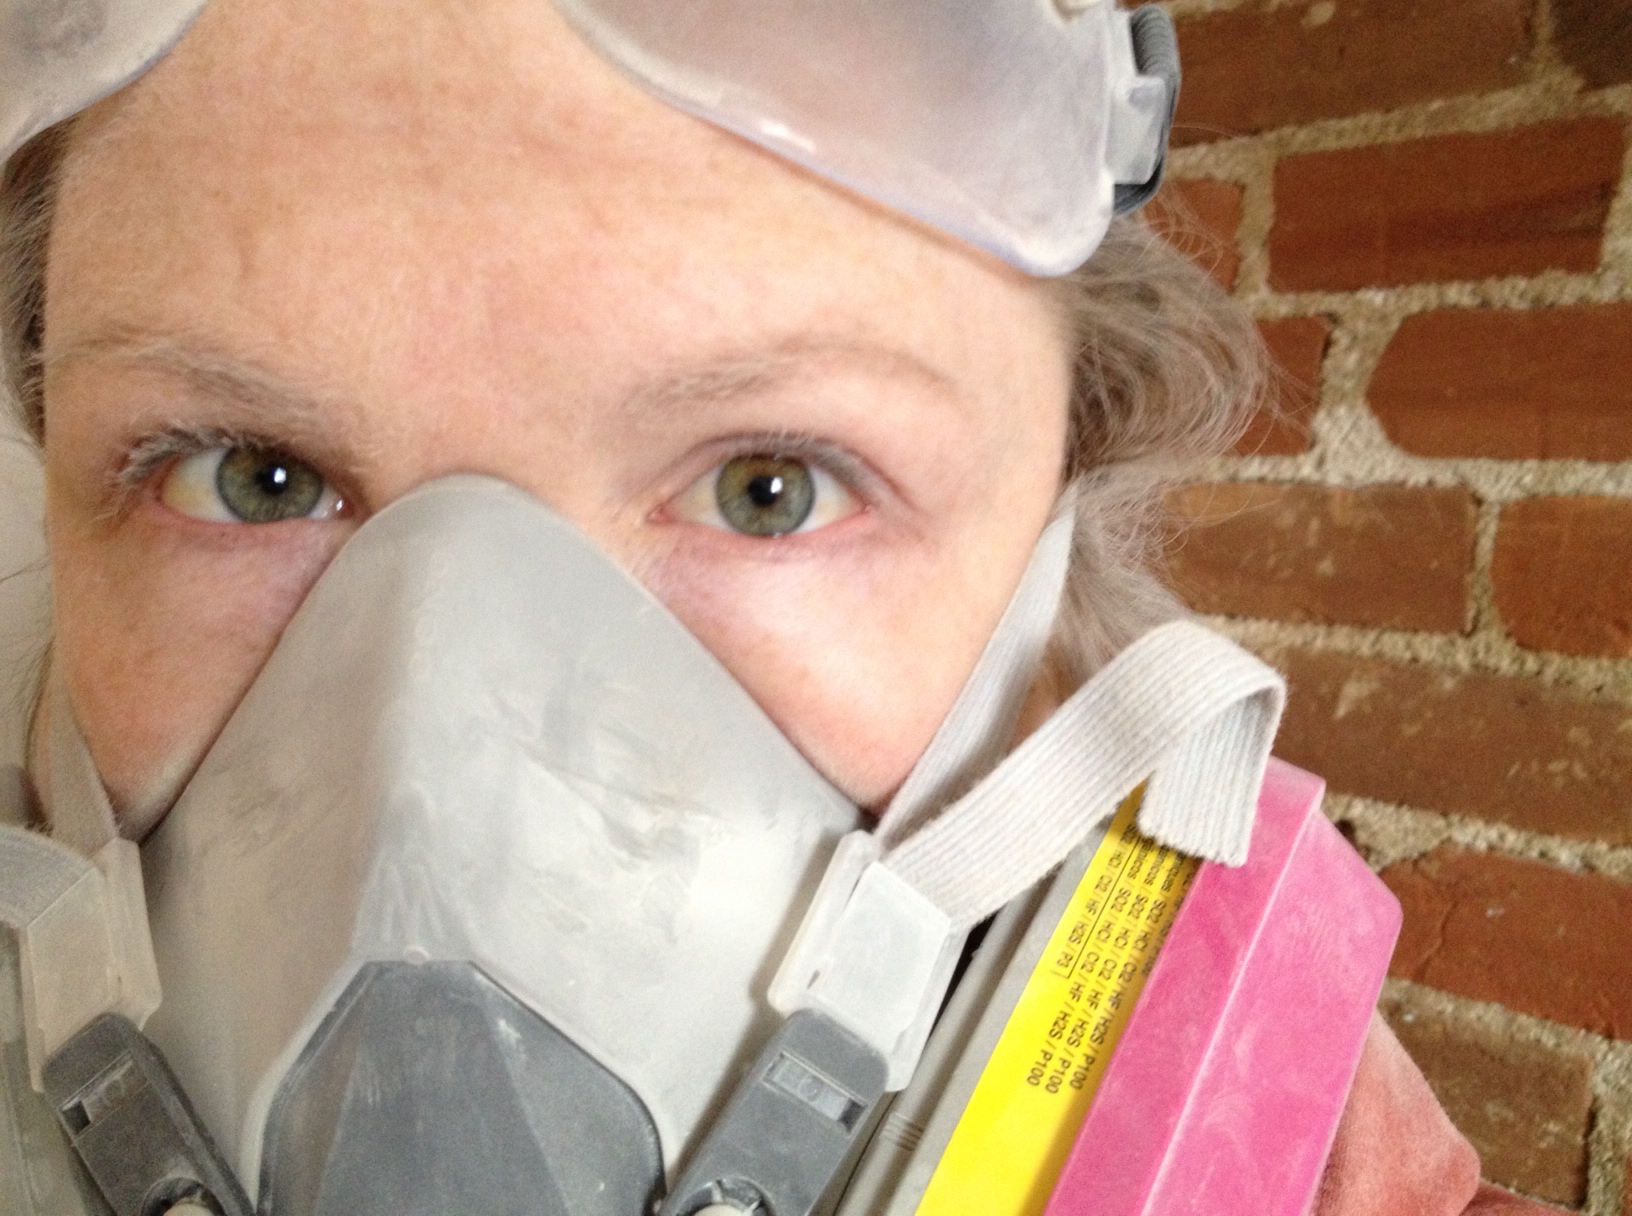

Thank heavens I had the amazing respirator I had, it would have been extremely dangerous had I not worn that level of protection. The dust wound up in every nook and cranny of my ears, nails, between my toes and other odd places. My skin began to break out in rashes all over and became scabbed and rough as if I’d been sandblasted. My hair became dry and brittle and nearly impossible to wash because the trapped dust turned to cement mud as soon as I hopped in the shower. My knees were bruised all over from kneeling for so many hours even though I wore kneepads. My hand joints became so sore and achey that I felt like I was getting a terrible case of arthritis – I am only now, 4 days after finishing the project, starting to not feel such pain in my hands.
The moral of this story is that there are some projects that aren’t worth taking extreme shortcuts on. This was one of them. If you need to grind thin-set from the floor of a small room, say 80-100 sqft., then using a diamond disc on an angle grinder will work beautifully and the project should only take a couple of days and cost you a measly $40 plus a replacement shop vac filter. Otherwise, hire a pro or at least rent the appropriate tools if you can afford them. Other tools you may want to consider when grinding thin-set are:
- an awesomesauce shop vac and a spare filter
- a wire scrub brush to loosen up the mud residue if you’re doing wet grinding
- goggles are better than safety glasses – the dust will really irritate your eyes
- knee pads
- PRO-GRADE RESPIRATOR (this is a MUST)
- good jammin’ tunes so you don’t go mad listening to the grinder screech for hours
- Full body clothes and gloves. Expose yourself to the dust as little as possible