Brake Manor, The Next Chapter

cropped-cropped-ca_09101220032525.jpg

I have been doing so many exciting things around Brake Manor since last autumn that I’ve decided to revisit the blogging idea and maybe pick up where we left off here – but with a little twist. Instead of just a home diary I’d like to add sustainable stuff, healthy living stuff, and anything else that pertains to thriving while consuming little. So! Here’s a quick summary of what’s happened since I last left off:

For the last two years I’ve had a blast shooting for and working with local artists, brewers, movers-and-shakers, and many other wonderful business owners and innovative folks here in town. My photography business took off straight out of the gate and had been going gangbusters. In early 2014, after several months of happily and busily working as an assignment photographer, I began to get restless again. I began feeling as though I needed yet another new adventure. I’ve always wanted to try travel photography and writing so I wound up taking a solo walkabout and lived out of a car in Iceland for 7 weeks. This beautiful adventure completely turned my life upside down in an amazing and terrifying way. I was blindsided by how I simply thrived on living alone in the small cargo space of a car, and being forced to find daily nourishment and facilities, all while spending copious amounts of time alone in the wilderness, taking photos and writing. By the end of this walkabout I was calmer, happier and gentler than ever before (this says a lot from a fiery-tempered Irish lass), I was physically strong and healthy, I laughed often and felt emotions more deeply than I knew was possible; I was thriving in all facets of my existence. Shortly after returning  home I began having crippling panic attacks and depression, I raged and sobbed daily over the many world injustices I had no control of, and thus began to hide away in the house for weeks on end because my brain was brimming with negative worries and an overwhelming feeling of helplessness. I nearly ran away to live life as a car-living vagabond. After a few months of constant introspection (because ain’t no body got time for this garbage! I’m a fixer. I wanted to feel better again.) I learned that the only thing that calmed me and made me sane again was the act of bumbling around in my big yard and focusing on, and caring for, the small things for which I could make a difference. I quickly realized I had to be the change I wished to see in the world and needed to stop worrying about what everyone else was doing (a novel thought, eh? Worry ’bout yo’self!).

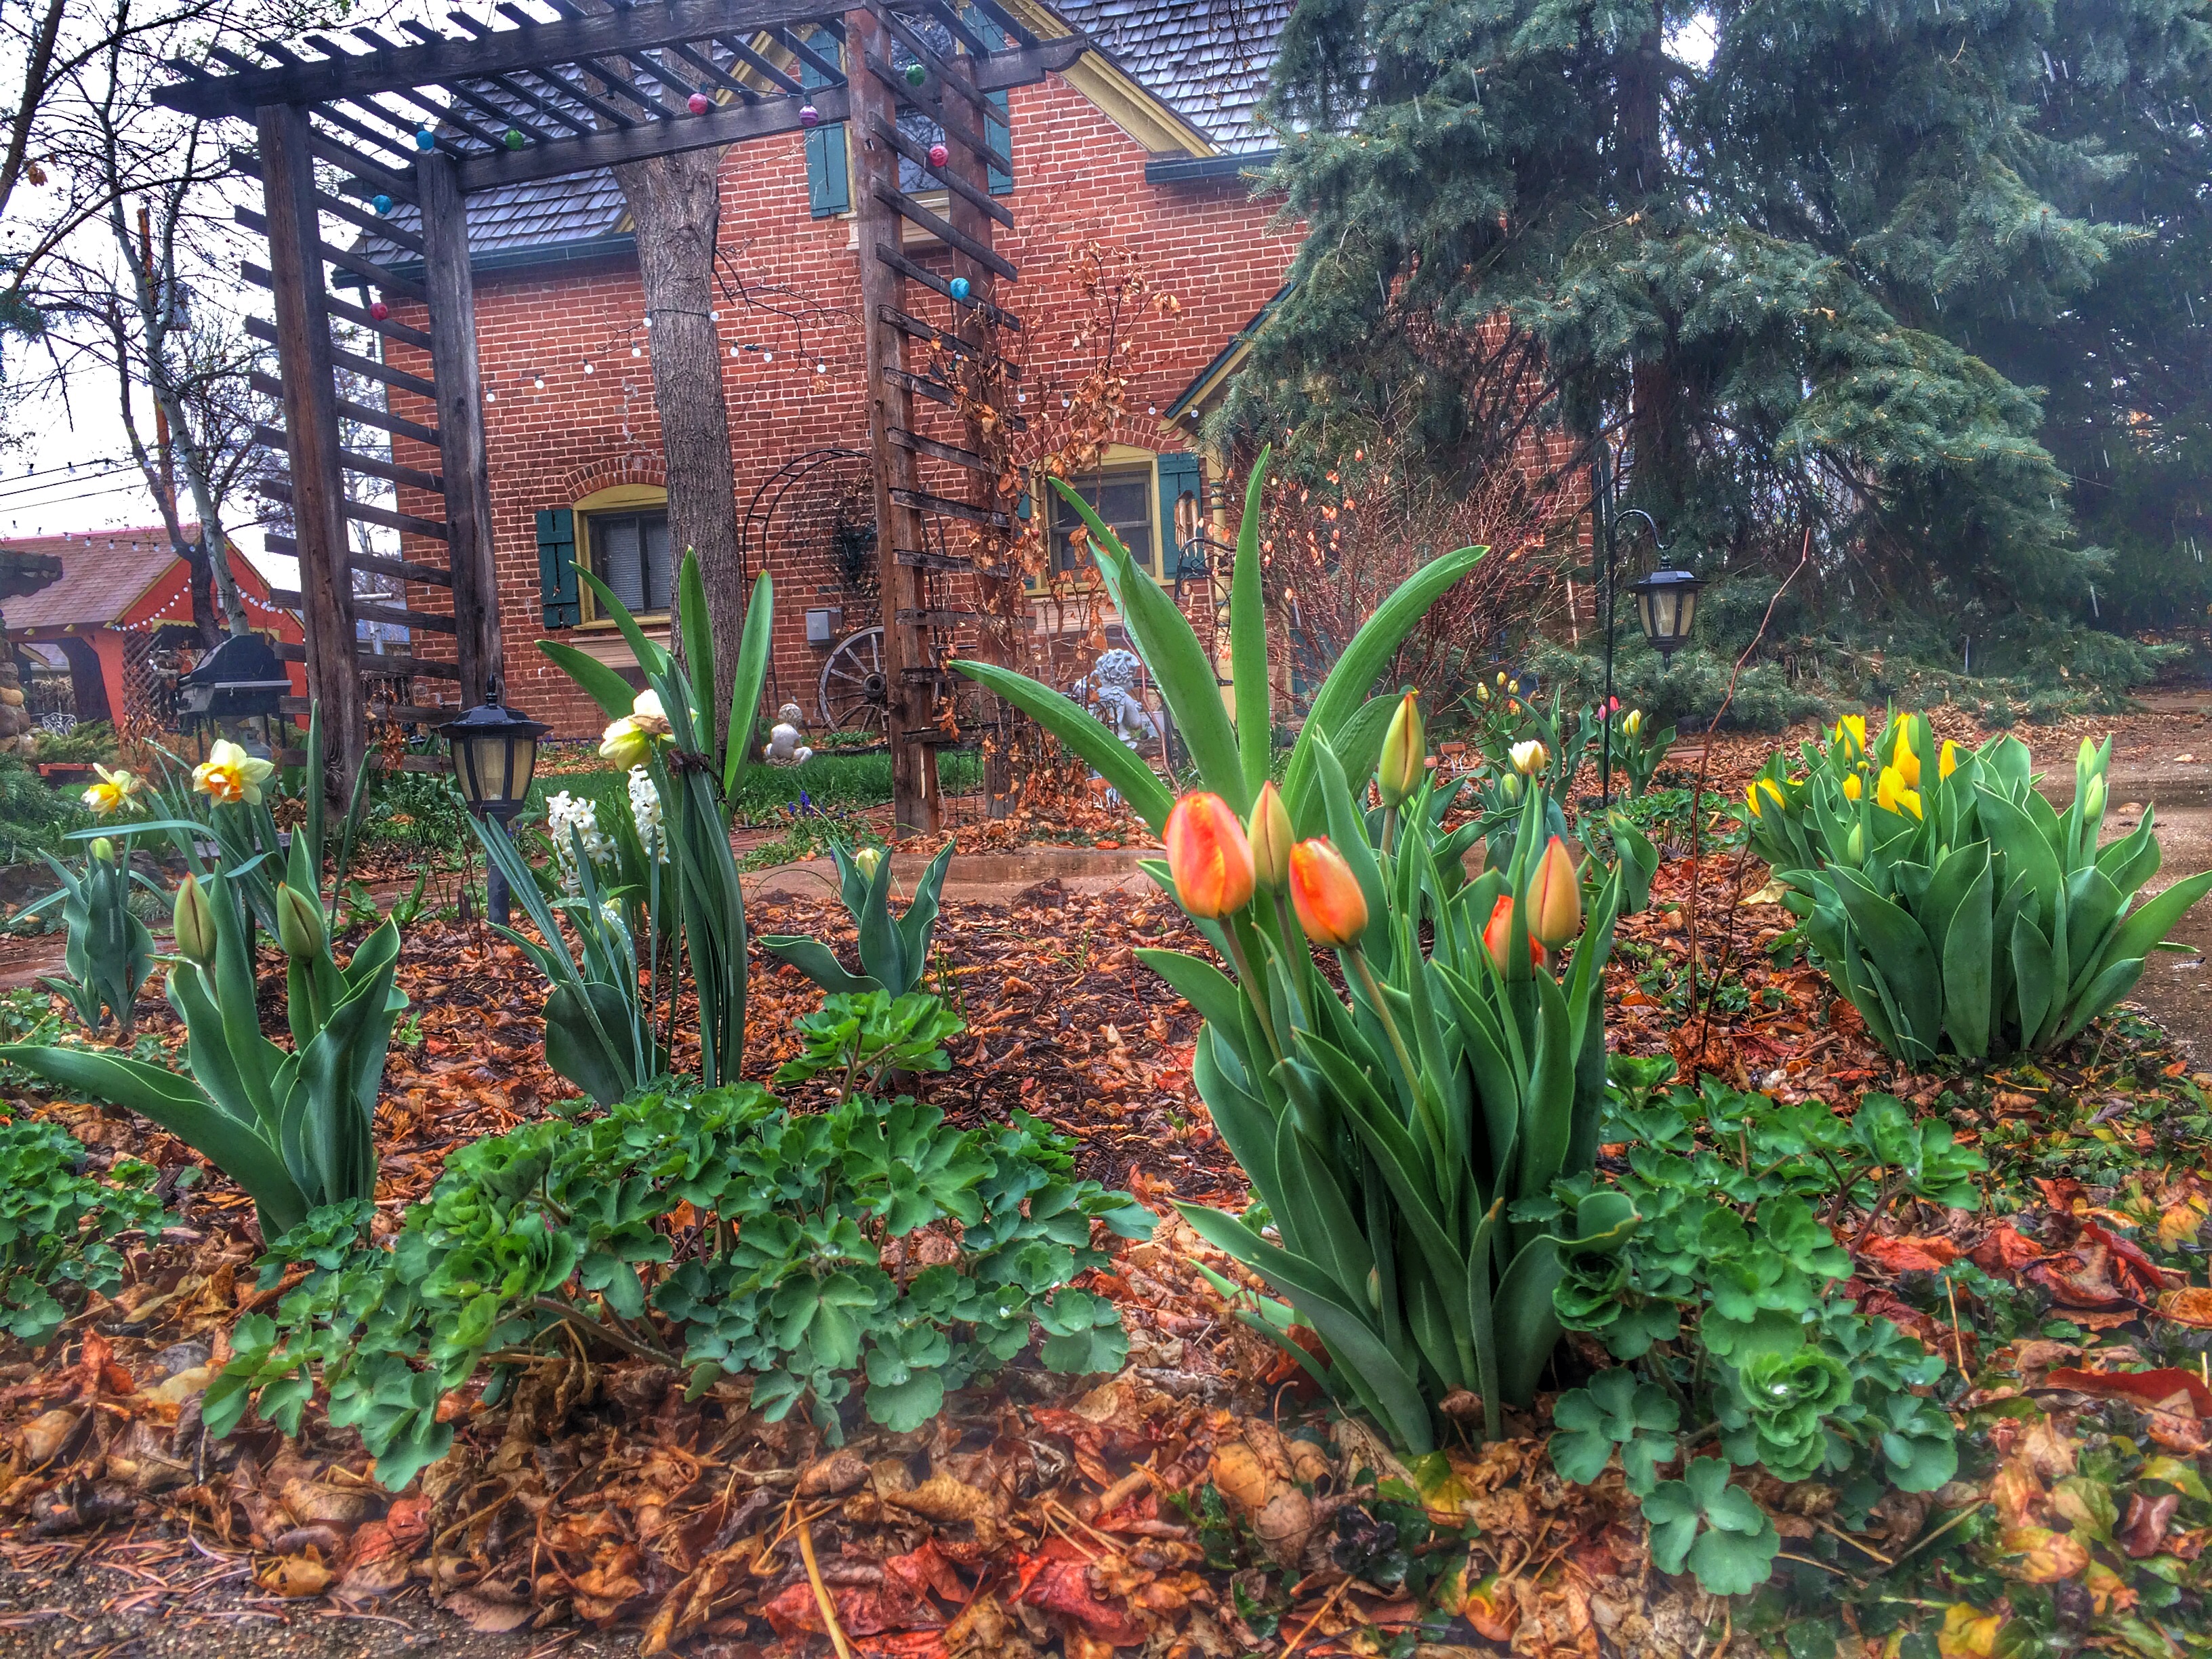
Once that idea clicked in my head  I decided, again, that it was time for another lifestyle change just like the one Jason and I had made when we got out of debt and moved into our little brick bungalow, Brake Manor, in 2012. I decided I would find my peace by focusing on making the day-to-day tasks of life more joyful and by learning to live sustainably. The Icelandic sustainable way of life really had a hold on me and wasn’t about to let go.

A few months before this new revelation Jason had changed companies and quickly received a raise for being so awesome. Between his raise and my side-gig as landlady we were making ends meet enough to allow me the privilege of slowing down the photography flow and taking on yet another new adventure (thank you, sweet husband, for always being so generous and supportive of my wacky new ideas!).

So for the last few months I have pulled myself back together by way of learning. I’ve been learning how to ferment foods, live off the land, be handier around the house and yard, and how to simply be happier with less.  I’m at the point again where I’m happy, healthy and passionate about waking up each morning. That’s huge. That’s so very awesome. That’s … Oh hell, I’m back, baby!

I have recently begun working with the amazing folks of the NoCo Maker Faire and we’re adding a sustainable living portion to the upcoming fair in October, so stay tuned for that!

So, welcome to my next chapter of Brake Manor living. Join me, won’t you?  Let’s start doing awesome things that make us happy and just happen to leave the world a better place than when we inherited it. <3

IMG_3171

Vintage Door vs. Open Floor-plan

Livingroom glass door
the 30 inch vintage door. gorgeous!
the now 40"+ wall opening where the door once was.
the now 40″+ wall opening where the door once was.

There is a beautiful vintage glass panel door that separated the living room from the rest of the house, which I was actually quite excited to use when I have client meetings, but when we removed the door and the trim we found out exactly why they used 8″ wide trim – the wall opening was much larger than the 30″ door! Jason and I talked it over and decided we’d repurpose the door elsewhere in the house (linen closet? frost the glass and use it on Jason’s office?) so we could widen the opening to help the flow of the house. It made a huge aesthetic difference, and it made it much easier to move furniture in when the time came.

I am a little sad I won’t be able to close off my “office” from the rest of the house and that we won’t have that gorgeous door hanging there any more but it will give me further incentive to get the garage insulated and drywalled so I can have another place to work.

Enter Title Here…

See? This is why we can’t have nice things.  *wagging a scolding finger at myself*

I started a nice blog to document our renovation progress and then I just let it get all covered in sawdust and out of date.

It became quite a struggle for me to balance renovation labors and my new business during these last four months, and I am embarrassed to admit that nowhere in between those two was I capable of fitting in a little bit of blogging. This weekend was our move-in date and I’m now typing this from our deliciously cozy nest in the loft of Brake Manor on our third night of residence. Our new home is still not what I would have called “move-in ready” but it’s livable and all  major projects have been completed. Though, while it’s not completely comfortable yet (only one of three sinks is installed so far and of the one functioning sink the hot water is leaking like a sieve) it’s beginning to feel a lot more like home.

The journey was long and exciting, and at times frustrating and felt like it would never end; but it was chocka-bloc full of stories I’d like to remember for the rest of my days. Even though it’s extremely belated and may not interest anyone else, I’m still going to document each step of the way for our future selves to look back on. So my apologies for the next few posts, but just indulge me. :)

Tonight our fur-child is getting acclimated to our new home and has finally come out from under the stairs after 12 hours of heartily auditioning for the part of howling troll #3 and is looking for someone to snuggle with. Glad you made it through your momentary insanity, kiddo.

Goodnight, moon.

Rose Pink Carpet

Due to our limited budget this winter we won’t be replacing any flooring that we take out during our initial renovations so we made the tough decision to live with concrete flooring downstairs instead of the existing rose pink carpet for two reasons;

a.) since this was Jason’s grandmother’s home for as long as he can remember the more stark visual changes we can make, the more like a new home it will feel for him and the more comfortable he will be, and

b.) because dusty rose is not a color you’ll likely find in our interior design palette. Ever.

office carpet tackstripThe carpet tack-strip was nailed into the concrete slab so we pried that all up as carefully as possible in order to not leave too many pock marks. Since the cottage began as a horse barn and then we think later became a car garage, it was really neat to meet the old garage floor under all that carpet; oil stains, splattered paint and a rough finish texture made for some interesting character.

Though we pulled up all the pink carpet from downstairs we did, however, leave it on the stairs for now. We both agreed that some rose pink on the stairs is better than plywood splinters on bare feet. ;)

There’s a Toilet in Mah’ Kitchen

Second only to the kitchen, the downstairs bathroom is another of our main targets for pre-move-in renovations.

We’ve removed the three layers of floral wallpaper, the floor tile, the wood paneling, the sink and vanity, the toilet and everything else in the room except for the lights and the bathtub (curses! We haven’t found an affordable clawfoot tub yet so that’ll have to wait).

Screen shot 2013-03-08 at 10.22.00 PM
images courtesy of houzz.com

As soon as the walls are textured we can install the floor tile and move the toilet from the kitchen back into the bathroom where it belongs. We’ll have to put a hold on the wall tile in the bathroom for now but it’ll be worth the wait in order to afford the texturing. I’ve always wanted white subway wall tiles with the little white hexagon floor tiles. It’s just a classic look that can be dressed up any-which-way you please.  I’m thinking white subway tiles with charcoal grout and a finishing ledge 4′ up the wall and then a warm green earthy paint up to the ceiling. I also found an industrial shelf/towel rack that I can make for under $90 at my home box store:

Add some wood planks on a few of the horizontals and it makes a mean shelf unit.
Add some wood planks on a few of the horizontals and it makes one mean shelf unit.

The Bittersweet Truth

During all of these immense changes we’re making to our awesome little cottage we’ve kept Eileen and George in the front of our minds and it’s been an incredibly bittersweet journey.

It’s so exciting to be renovating a home with my husband and learning new things, making new memories and putting our heart and soul into every decision we make; but I am often reminded that the reason we are able to have this adventure in the first place is because someone else’s adventure, someone very near to our hearts, is winding down to it’s end. After writing about all the drastic changes we’ve made in our zeal to get as much done as possible before we move in I realize it may seem to our friends and family that we aren’t fully aware of or effected by the reality of our circumstance.

Every time I see Eileen she never fails to tell me how much she loves that house, and how she wishes so badly she could still be living her life there. Her words break my heart all over again every time I hear them (and with her poor memory I hear them more than once during each visit). I feel this heavy guilt over being young whipper-snappers basically gutting the home she put her heart into for 20+ years. I understand there is no rational reason to feel guilt since it would either be us or some other family moving in and making changes since Eileen simply cannot live alone any longer… but it doesn’t make it any easier on that soft spot in my heart.

Though we have to move quickly and make many changes immediately, we haven’t forgotten about the thousands of memories made in this house – not just by George and Eileen but by all the families that have owned this property. We’ve saved swatches of every single textile we’ve changed so we can make some sort of memory mosaic of what used to occupy the space before we put the Brake fingerprint on it.

No matter how sad it is that all of our life stories must someday come to an end, I have to choose to live in the now and embrace the memories we’re making together in this home. At first I felt like we were erasing this house’s past by altering it, but now I realize we’re adding to the rich history of it – and we’re giving it more time to exist and be loved and lived in before some contractor comes along to tear it down and build condos in it’s place. Now that would be erasing it’s history. We’ll do everything we can to never let that happen in our lifetime.

Our brick cladded memory box.

Bugs and Wood and Rotting, Oh My!


When we opened up the East wall in the kitchen to work on electrical we found the original brick wall behind the framing – oh sweet Jeebus is it pretty, all painted up in sloppy coats of blue and white! – we noticed there are a few strips of wood layered in with the bricks; two near floor level and one at chest height. We also found the floor level wood has been almost completely eaten away by bugs in a 5 foot long area. Little bastards. Though I don’t know which generation of bugs I should hold a grudge against since the house has been around for so long. It could have happened during the 30’s when everyone was starving, including the bugs. Can’t be mad at that generation… ;)

20130208 Brake Manor Reno-36_WEB

I asked for my dad’s advice because I thought it would be perfectly reasonable to fill in the bug holes with concrete to restrengthen the area and he agreed, but he recommended we use mortar instead since it’s a finer mud to squish further into the crevices.  On one of the weekends I wasn’t around to help, Dad repaired it by pulling out the remaining bits of wood and packing in the empty spaces with masonry mud. It’s not a pretty fix but it’ll give us a few more years of stability on that wall and maybe keep the bugs away. My sweet husband added a finishing touch of the repair date and our initials in the wet mud. I’m such a lucky girl :)

kitchen East wall mortar repairkitchen East wall mortar repair 1

Upcycling Kitchen Cabinetry

ktchn cabinets on trailer 2
Once we moved them away from the walls they practically self destructed. Wimpy things!
They're much nicer than they look, they're just covered in cement dust.
The cabinet faces are much nicer than they look, they’re just covered in cement dust.

Due to our upcoming expenditure on drywall texturing we are already feeling tight on funds, so in order to save more clams we decided to reuse the old kitchen cabinetry for now.  The cabinet bodies were in nasty shape and the drawers weren’t exactly smooth rollers so we loaded up all the cabinets and moved them to my dad’s workshop so he could rebuild the particleboard structures and put the cabinet faces back on.  (Thank you, Dad!!!) Once we move in we’ll have more time to resurface the faces and give them a little more style.

I made an executive decision, met with MUCH gasping and contention from all parties, to make the longest countertop in the kitchen 36″ deep instead of 24″. My reasoning is that in our current house I don’t feel like I have enough counter space and, dammit, I simply want more elbow room. After a toaster, espresso machine or mixer is plopped down against the wall it leaves me only about 12-16″ of workspace left. Not enough for this dough-slingin’, veggie-choppin’ girl.  I figure if the counter is 36″ deep it will allow my mixer and espresso machine friends to continue to live along the wall without me resenting them. Plus, it will give me an extra foot of counter space behind the sink to maybe grow a few more tasty cooking herbs once life starts to get back to normal post move in… which I hope it will do rather quickly. I’m growing a bit weary of my plate being so full.

KtchCabinet Drawing
A drawing I made for Dad so he could understand my alterations.

Tough Texture to Swallow

While the kitchen electrical was underway we also removed all trims  and wood borders in the house and steamed all popcorn from the ceilings to prep for drywall texturing. Originally the plan was to just texture the walls we had ripped into, but we realized since there will be so much new drywall as well as old dented/wonky/crooked drywall needing it’s flaws hidden it’d be worth doing everything all at once; and if we don’t do it now we never will once we’ve moved in… so it’s been decided to have all the walls and ceilings retextured.

Also, in our original plan (can you sense a pattern of disappointing realizations here?) we would tape and texture everything ourselves to save money but after the cement floor grinding fiasco I am heeding the majority vote and hiring this one out – regardless of cost – which means even more penny pinching elsewhere. We have a bet with my dad and stepmom about how much it’ll cost and the losers have to buy lunch. We haven’t gotten any estimates yet, but I’m assuming it’ll be something astronomical and vomit-inducing like $3000-3500. Not sure how we’re going to pull this one off yet, but there has been talk of a 2013 Xmas and birthday “advance” from our parents which would help us put a an ever-appreciated dent in the bill.

A few years ago we helped Dad drywall his newly built 2000+ sqft. workshop. It took six of us working for five weekends to get the whole place drywalled, so dad decided to hire out the rest. The tape-and-texture guys came in and finished the job beautifully in only a few days. I can’t imagine the thrill of walking into our house for the first time after it’s been textured and we didn’t have to spend weeks doing it. I think this purchase will be well worth the excruciating pain it’ll cause our wallets.

Why do we have to texture at all?  Texturing helps reduce the visibility of any flaws in the drywall tape and mud job, as well as masking many blemishes the wall will inevitably receive during normal home wear-and-tear. If you have a perfectly smooth wall and you make one dent or ding, it’s really going to stand out, and in our household that would be a chronic problem. I can’t even imagine how bad the walls would look if we had kids. It’s bad enough now just between my general klutziness as I move my photo equipment around and our kooky wall-bouncing cat.

So what textures are there to choose from? Why, I’m so glad you asked! ;) Here is a helpful link to the most common textures used today: http://www.drywallschool.com/textures.htm

We are pretty fond of the plain-old California Knockdown texture that we have in our 2005 house, and thought that using the same texture and the same bullnose corner bead (fancy rounded wall corners) would give Brake Manor an updated look using the least amount of effort and cost.

image courtesy of: http://www.silveriapainting.com/knockdown-textures.html
Knockdown texture. Image courtesy of: http://www.silveriapainting.com/knockdown-textures.html

Whirlwind Winter and Kitchen Electrical

So the good news is I have been unexpectedly graced with a plethora of photo (and video!?) gigs since the beginning of January, and the one unfortunate effect of such livelihood awesomeness is that I’ve not had as many chances to work at Brake Manor as hoped, and the lack of progress is starting to make me nervous.

Alrighty, so since I’ve been such a slacker at documenting our progress, I’ll start where I left off and in the next few days I’ll work on writing up each task we’ve accomplished so far.

The kitchen floor cement sanding is fiiiinally finished and it looks great. We’re really excited to slap some sealant on it and see it all glossed up and sassy. There are a lot of larger pebbles in some areas of the cement which gives it a neat pattern now that it’s been sanded down.

Next, we brought in a master electrician friend in mid January and at every turn he’d shake his head and slowly say “oh gawd” as he inspected the electrical system, so we knew we had to tackle the worst of that before anything else.

electrical panel diagramIt took me about 4 hours to go through the house and identify all circuits since none of them were labeled beyond generic terms such as “front of the house” and “half of the kitchen”. To start,  I arbitrarily renumbered the breakers just to have a clean starting point. Then I used a little light-up outlet tester and made passes through the house checking each unknown outlet with one breaker turned off at a time, marking them off on my room map as I went.  On those rogue outlets that didn’t seem to match any of the breakers, I plugged in my boombox and blared it loud enough that I could sit in the attic and flip each switch until I found the one that killed the noise.

My little map I made for documenting our work.


Once we knew which breakers controlled what, the next project was to open up two of the four kitchen walls and pull out all the electrical. The plan was to reinstall it correctly while moving existing outlets to standard heights and locations, and we decided to add a few more while we were at it. It was a royal mess in those walls. Random uses of 14-12 gauge wires; no grounding on the garbage disposal; splice after ghetto splice; nothing stapled down; each outlet was at a different height and one was even embedded into the window trim for some reason… it was so much fun learning the do’s and don’ts of electrical as we pulled the old work from the walls.

20130208 Brake Manor Reno-5_WEB
Left wall: old electrical. Right wall: new electrical. Much better!

As soon as the old kitchen wiring was removed on the South wall Dad gave me a how-to lesson on the first two outlets and then we split up and tackled the rest of the kitchen. Learning life lessons from my dad makes me realize just how lucky I am to have him around and it also makes me feel a little sad that he never had a son he could teach these things to since he’s such a DIYer (unfortunately his only son, Seth, has Down Syndrome). I figure a handy-girl daughter who is eager for any wisdom he’s willing to impart unto her has still got to be better than nothing though.

Jason and Dad posing against their will for my documentation :)

Dad and Jason added a 3-way circuit to one of the two kitchen lights since there was no switch by the hallway entry. It took me a while to wrap my brain around the logistics of how to wire up a 3-way but Dad made schematic sketches on the back of some drywall for me and it finally clicked. I can’t help but be amused at what someone will find in our walls down the road on the next remodel adventure; shopping-list notes, circuit drawings, and several mushy J+A=Forever‘s drawn on the backs of the drywall.

Just me, workin' on some electrical.
Just me, workin’ on some electrical.

When we removed the wallpaper in the kitchen we had found phone numbers and ToDo notes on the drywall by where the phone jack was which made me remember how much history this cool little cottage of ours has already seen just since it’s last makeover. We also found pennies, 22-bullets, seeds, toys and newspaper clippings in the walls from whomever did the last renovation so we’re going to be sure to at least add some coins from 2013 in all the walls we’ve worked on too.


Alanna is a free spirited, techie-turned-entrepreneur starting a new adventure in a vintage cottage with her awesomesauce hubby, sassy cat and a little green flying monster